Happy Monday Everybody! I hope you had a great weekend.
This week at Simon Says Stamp Monday Challenge, we are talking about mysteries. Be it Sherlock Holmes or a mysterious technique that you can shed some light on, we invite you to join us!
For me ... I am thinking Christmas! And my mystery is ....
Just how DOES Santa visit everyone's home in just one night?

The answer ... it's the MAGIC OF CHRISTMAS!
I have always adored Tim's Vintage Santa stamps that he came out with a few years ago. This one in particular is my favorite. So, he and Tim's Vintage Globe were my inspiration for this piece.
I started this vintage piece with a deep 8x8 stretched canvas frame that I covered with Gesso. While that was drying, I started on my Vintage Santa.

I stamped Santa onto Specialty Stamping Paper and using Jet Black Archival Ink. I then my colored Santa using my Detailer Water Brush and some Distress Inks. Scattered Straw and Tattered Rose created his skin tone and rosy cheeks. His suit is colored with Fired Brick. The I lightly washed his beard and hair with Antique Linen and gently inked over Santa with Antique Linen and my Ink Applicator to make him more vintage looking.

I then mixed some Stampendous White and Light Grey Flocking and gave my Santa's hair and beard some added vintage dimension. It looks very cool in person. You simply add a thin coat of some clear drying glue (not Glossy Accents) to the paper and add the flocking by flaking it off between your fingers. Then move the flocking around with your finger to smooth it out and gently pat it into place. Turn the paper up and shake off the excess.
Next I started my Vintage Globe.

I cut the globe out of Plain Grungeboard and covered it with Wendy Vecchi's White Embossing Paste. I added raised areas on the land masses to represent mountains and the contours of the land. I heat set that dry and colored my water and land masses using Distress Paints.

My water was done by first painting a coat of Weathered Wood. But that was pretty light so I did a layer of Broken China mixed with a little Picket Fence. The I lightly washed just a touch of Fresco Finish Inky Pool to create depth in the water. I painted the land masses with Scattered Straw. Then I added a wash of Vintage Photo to create highs and lows. I brushed on the wash and dabbed off the excess with a paper towel.

Finally, I gave my globe a light spritz with Biscotti Perfect Pearls Mist and it was done!
Now I needed to create a cool night sky to contrast with my Santa and my planet Earth. I pulled out my large gelli plate and Speedball brayer and started playing with some acrylic paints to create a night sky for my background. I love Fresco Finish Inky Pool Chalk Paint. It's such a gorgeous blue tone. I mixed a couple of other blues with it, to darken it just a bit .
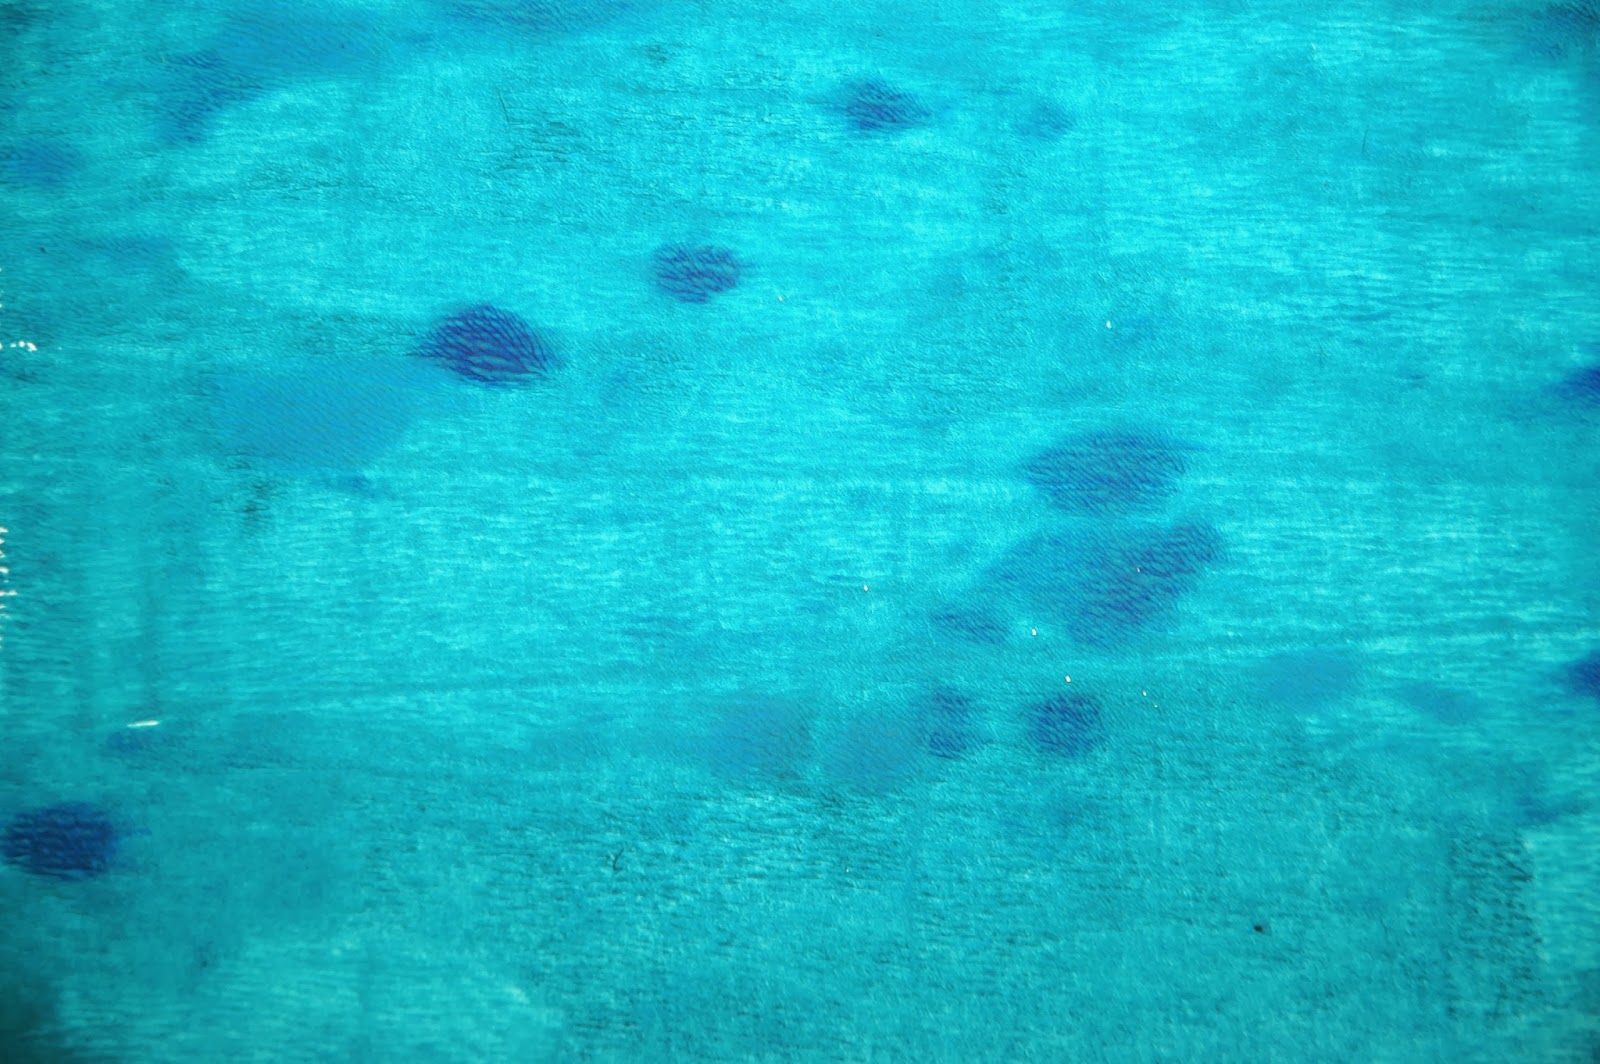
Then I added some Black Soot Distress Ink using a Blending Tool and sprayed some Sunflower Sparkle Perfect Pearls Mist followed by a spritz of Forever Blue to create more of an outer space feeling.

Pretty cool, huh? I cut the background to fit inside of the 5 1/4" square on the back side of my canvas and glued it into place.

Next I created some little houses for Santa to visit. I die cut them from Tim's Townscape One The Edge die cut out of Plain Grungeboard. (I ended up not using all of these in my final design.)
I also gold embossed Santa and his flying reindeer flying over the Earth on his magical Christmas Eve journey.

And what is a night sky without beautifully twinkling stars? These were die cut from Tim Holtz' Crescent Moon and Stars die cut. They are Plain Grungeboard painted with a Gold Paint Dabber and then covered with those wonderfully vintage Mercury Glass Stickles. This was my initial design idea but then I changed my mind.

A Christmas Eve piece needs a Christmas tree and presents! So, I took Tim Holtz' smallest tree from his Woodlands Trees and sprayed it with a mix of Gold Paint Dabber and water in a Mister Bottle. I then added some Gold Gliltter Dust Spray. Finally, I mixed Tim Holtz new Antique Linen Distress Glitter with a mix of Stampendous' Gold and Mercury Glass-ish colored Mica Flakes. I lightly sprayed the tree with Spray Adhesive and rolled it in the mica/glitter mix. Finally, I added some Golden Rod Stickles "ornaments" and one of Tim Holtz' tiny Mirrored Stars at the top of the tree.

I painted my exterior canvas with the same combination of Inky Pool Fresco Finish paint a couple of other shades of blue acrylic paints. I heat set it and then sprayed the canvas exterior with Gold Webbing Spray. It gives a very cool marbled type of effect.

Now the canvas was beginning to really take shape! Notice that I also added more of Tim's Mirrored Stars to the centers of my gold stars? His Mirrored Stars come in assorted sizes all in one package. I love the added sparkle and dimension they add.

Next I added Glossy Accents into the space between the wooden frame and the stretched canvas. Then I added some purchased plastic gold beads.

Next came my letters "The magic of Christmas". I cut them out of gold Bazzill paper using Tim Holtz' Upon A Time alphabet strip. I then glued each letter in place using a small amount of Glossy Accents and covered each letter with Mercury Glass Stickles. That added some perfect Vintage shimmer - almost like Glitter Glass - to the letters. I added two flourishes to each side of the frame from Tim Holtz' Festive Greenery die cut strip using the same paper and stickles. It was all that was needed on the sides.

Then I added the Christmas tree partially behind Santa, the little row houses and a couple of little sparkly presents to the bottom of the frame.

To finish off my canvas, I added some beautiful purchased gold sparkly trim with 1/4" Scor Tape all around the outside edge of the canvas. I also added a small gold sparkly bow at the top.

And here is the way the beading and trim on the sides look together. I like the vintage quality that both of those trims add to my canvas.

And here is the way the beading and trim on the sides look together. I like the vintage quality that both of those trims add to my canvas.

Once again, here is my finished piece. I love it! And now if anyone asks you if Santa is real or how can he stop at every house in one night, you can simply answer "IT'S THE MAGIC OF CHRISTMAS!"
I hope my vintage piece has inspired you to create something wonderful for our challenge. Join us and you might be the lucky winner of our $50.00 credit voucher!

You might also be selected by our Design Team as having one of the most inspiring and interesting pieces for the week. You would receive special recognition by having your piece highlighted in our

Good luck!!
Here are all of the products available at Simon Says Stamp that were used in creating this very special vintage canvas:


