Hello everyone! Welcome to my blog.
It's another Monday and we are creeping closer and closer to Christmas!
I hope that you won't get tired of seeing each of my challenge pieces this month done in Christmas motif. After all, it IS my favorite holiday and I absolutely LOVE creating Christmas pieces.

I went outside of my comfort zone a little bit and dug out my Melt Pot. I used something very similar to tissue; a 3 ply paper napkin (with all but the thin top piece of paper removed) to create a vintage Christmas frame.
This was so much fun to do and very easy. You just need a wooden frame, a Melt Pot, some Natural Beeswax, a heat stylus, a craft brush, your choice of tissue or napkin and you can make the basic frame!
It is very important to remember that when you are working with beeswax, it is a HOT wax! Anything you use will then be dedicated only to beeswax use. You cannot remove Beeswax from a Melt Pot or a brush. So, an extra Project Tray for your Melt Pot is the perfect solution! This way, when you work with your Beeswax by melting it and then allowing it to cool, you can simply remove and add the Project Pan , leaving your Melt Pot clean and ready to use for some other project. It is also good to have an inexpensive craft brush that you can simply leave in your melt pot when you are allowing the Beeswax to cool. Then, when you insert your Project Pan into the Melt Pot and heat the Beeswax, the wax on the craft brush will also melt and become very flexible again. Also, if you purchase a heat stylus or a small quilt iron and use it on your Beeswax project, then that stylus or iron can only be used for wax projects.
Having said all of that, here are the easy instructions for creating your own basic frame:

1. Begin by placing some type of protective covering on your work space. I used the glossy side of freezer paper. I DO NOT use my Non Stick Craft Sheet on this because I would not be able to use it for anything else once Beeswax got on it. But, you could have a Non Stick Craft Sheet dedicated to Beeswax use.


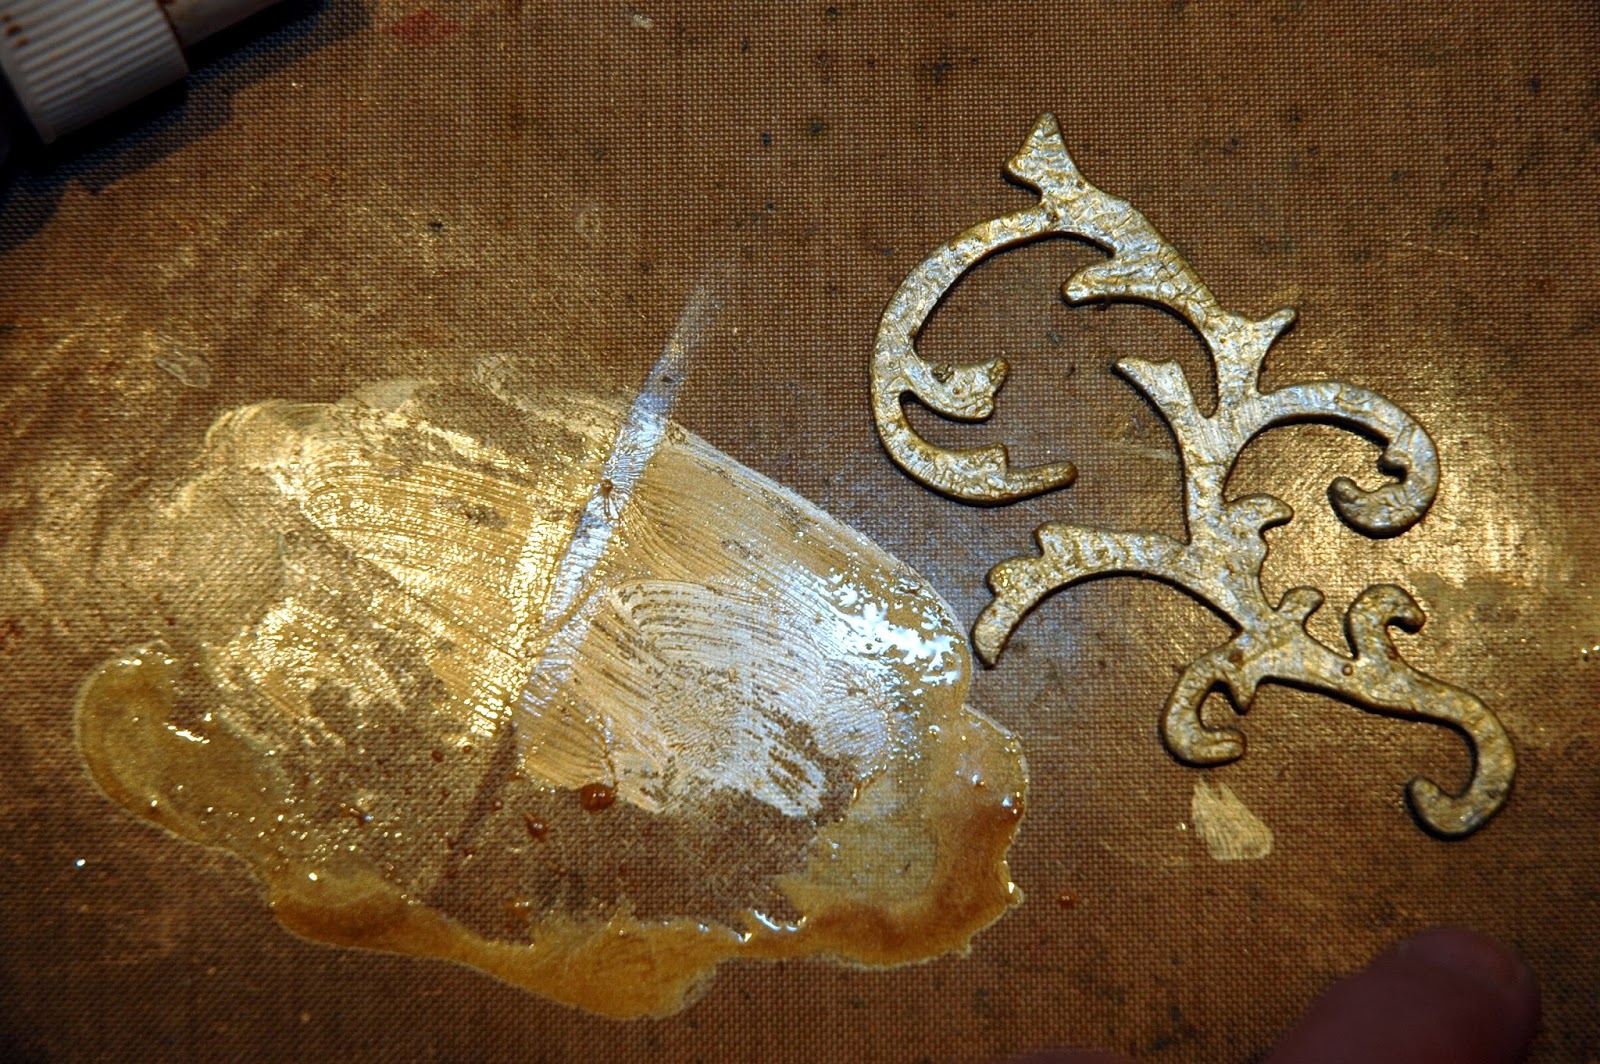
2. Brush a couple of light coats (using an inexpensive craft brush) of Beeswax over the entire surface of your wooden frame. Try not to get it too thick and clumpy; just nice smooth brush strokes. If you do happen to get it too thick, you can use a heat tool to melt the wax and manipulate it with the craft brush.
3. Lay your tissue or single ply paper napkin on top of your frame.


4. Using a heat stylus or small quilt iron, press it over the top of the paper. The paper will begin to take on a liquid appearance as the Beeswax melts underneath, fusing the paper to the wooden frame. Continue working the stylus over the entire frame.

Cut an "X" in the paper in the center of the frame and continue to work with the heat stylus to cover the wooden frame.


Cut an "X" in the paper in the center of the frame and continue to work with the heat stylus to cover the wooden frame.

**NOTE - I like to start in the center of a side of the frame and work the stylus toward an outside edge, rolling the stylus over the edge. If you need to add pieces of tissue to completely cover the back of the frame, simply add a little piece of paper and fuse it to the frame with the stylus.


5. Once the frame is complete, you can add Perfect Pearls Powders to the frame to give it a subtle shimmer. I did not add them on the frame; but this would be the time to do that. I did add a little Gold Paint Dabber to the interior edge of the center of the frame and I added a touch of Gold Paint with my finger along the outside edge. The basic frame is complete!


To embellish this frame, I die cut a Tattered Poinsettia and holly (from Holly Branch) from Tim Holtz' Seasonal Paper Stash sheet music paper. I inked the poinsettia petals with Fired Brick Distress Ink and the leaves with Peeled Paint.

After a little heat setting, I brushed Rock Candy Distress Crackle Paint over all of the petals and leaves and let it dry.


I added gold highlights to the poinsettia petals by dabbing some gold paint onto my Non Stick Craft Sheet and then using my finger to line the edges of the petals. Next, I lightly swiped a little paint onto the leaves.

Finally, I outlined all of the petals with Mercury Glass Stickles. The holly leaves were next. I simply added Mercury Glass Stickles to the edges and drew little vine lines to the interior of the leaves. Then I set them all aside to dry.

Finally, I outlined all of the petals with Mercury Glass Stickles. The holly leaves were next. I simply added Mercury Glass Stickles to the edges and drew little vine lines to the interior of the leaves. Then I set them all aside to dry.
Once the poinsettia and holly leaves were dry, I arranged them on the frame and hot glued them in place. I created a small bow out of my newly made ribbon and added a small curly piece across the bottom of the frame. But it was still lacking something.
Ah ha! What is a vintage Christmas piece without shiny balls and little bells? I remember them being everywhere when I was a child. My grandfather had a little bundle of bells that he hid in his pocket. He would shake them and tell me Santa Claus must be close by. My mother always wore a little corsage made out of metallic leaves, little glass ornament balls and little bells. Isn't it funny how something as simple as a little bell can invoke such wonderful memories?


So, I remembered finding some little vintage bells as a flea market a while ago. I pulled three of them out and transformed them with Tarnished Brass Distress Paint.

I added a little jingle bell "clapper" to each on by wiring it to dangle and make a jingle noise. Then I added some Mercury Glass Stickles to the interior and exterior edges. Once dry, I hot glued the wire tops into place among the holly leaves, poinsettia petals and ribbon. This arrangement reminds me so much of those festive little corsages I was telling you about earlier.

I
found some really pretty gold ribbon but it sort of "died" against the
frame so I added a thinner strip of traditional red and green shiny
Christmas ribbon to it by using 1/8" Scor Tape down the center of the
gold ribbon and adding the red and green ribbon. NOW I LOVED THE
RIBBON! Perfect for my frame!


I added a little jingle bell "clapper" to each on by wiring it to dangle and make a jingle noise. Then I added some Mercury Glass Stickles to the interior and exterior edges. Once dry, I hot glued the wire tops into place among the holly leaves, poinsettia petals and ribbon. This arrangement reminds me so much of those festive little corsages I was telling you about earlier.

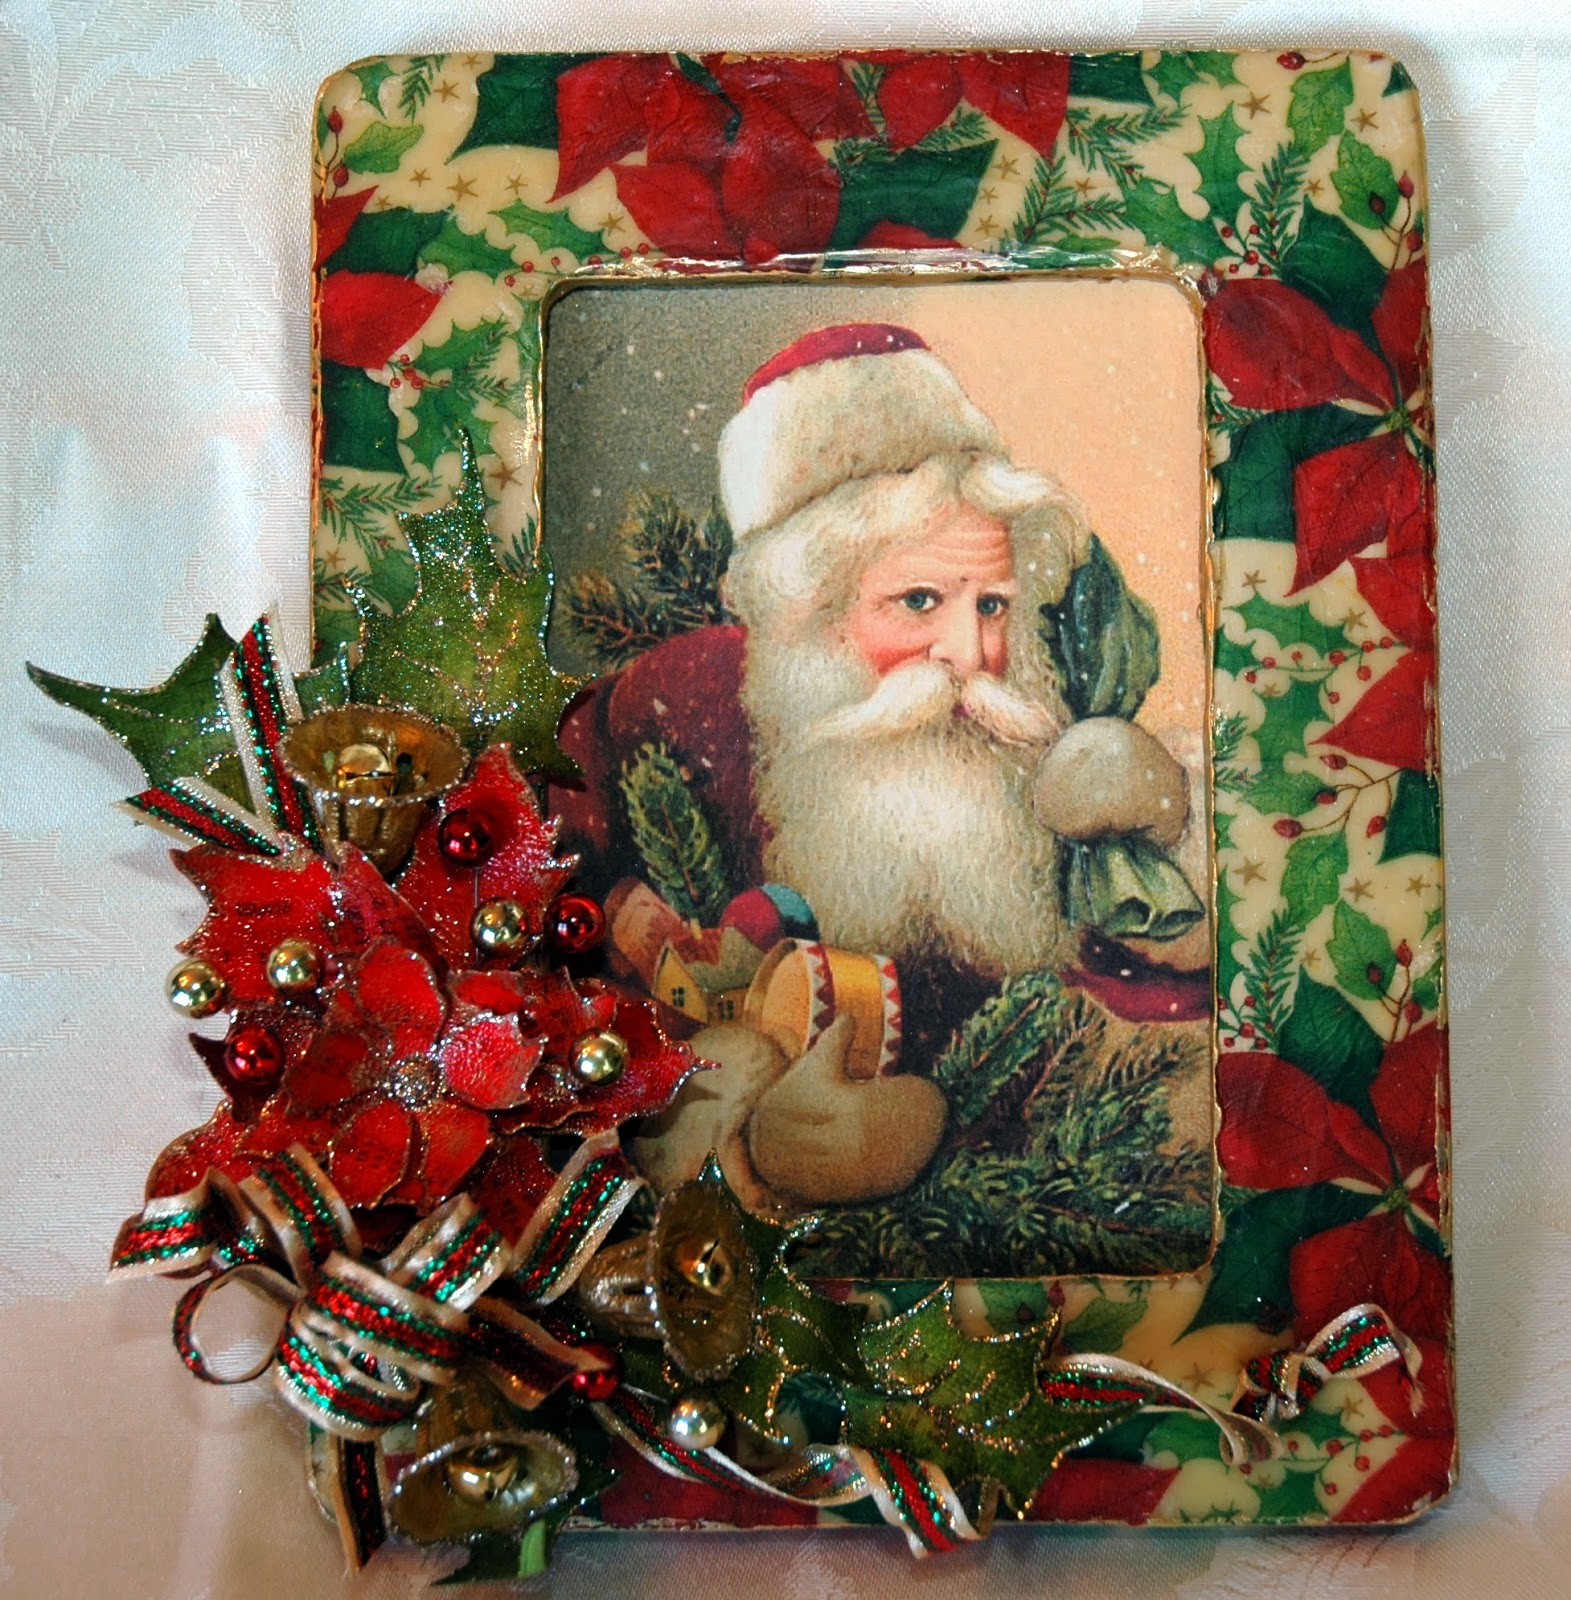
I added a 4 x 6 illustration of Santa that I found online and my vintage frame is complete. Now it's YOUR turn to create something with tissue and enter our challenge. You could be the winner of our most generous sponsor's $50.00 credit voucher to Simon Says Stamp.

If your entry is extra special, you might be showcased in our ....

Such a wonderful way to share your creation with our followers!
Thank you so much for stopping by my blog and I hope that my vintage Christmas frame has given you some special inspiration!
Here are all of the products available at Simon Says Stamp that were used to create my vintage frame: