Hello everyone! I'm just back from an amazing adventure at CHA 2013 in Anaheim, California. It was fabulous in so many ways. The creative vibe was electric! Everywhere you looked, beautiful projects filled welcoming vendor's booths.
But, even more amazing than the booths were the PEOPLE. The "Airport Girls" were reunited! They were the four lovely ladies who waited for me for HOURS, I mean HOURS at the airport when flights were being cancelled like crazy as we were all trying to get to Ranger U two years ago. Hels Sheridan, Cheryl Grisby, Yvonne Blair and Linda Ledbetter ... I love you guys like crazy. But wait ... there were more lovely ladies who are part of our happy little crew. Enter Anita Houston, Ellen Vargo and Susan Mostek. We had more fun than a barrel of monkeys!

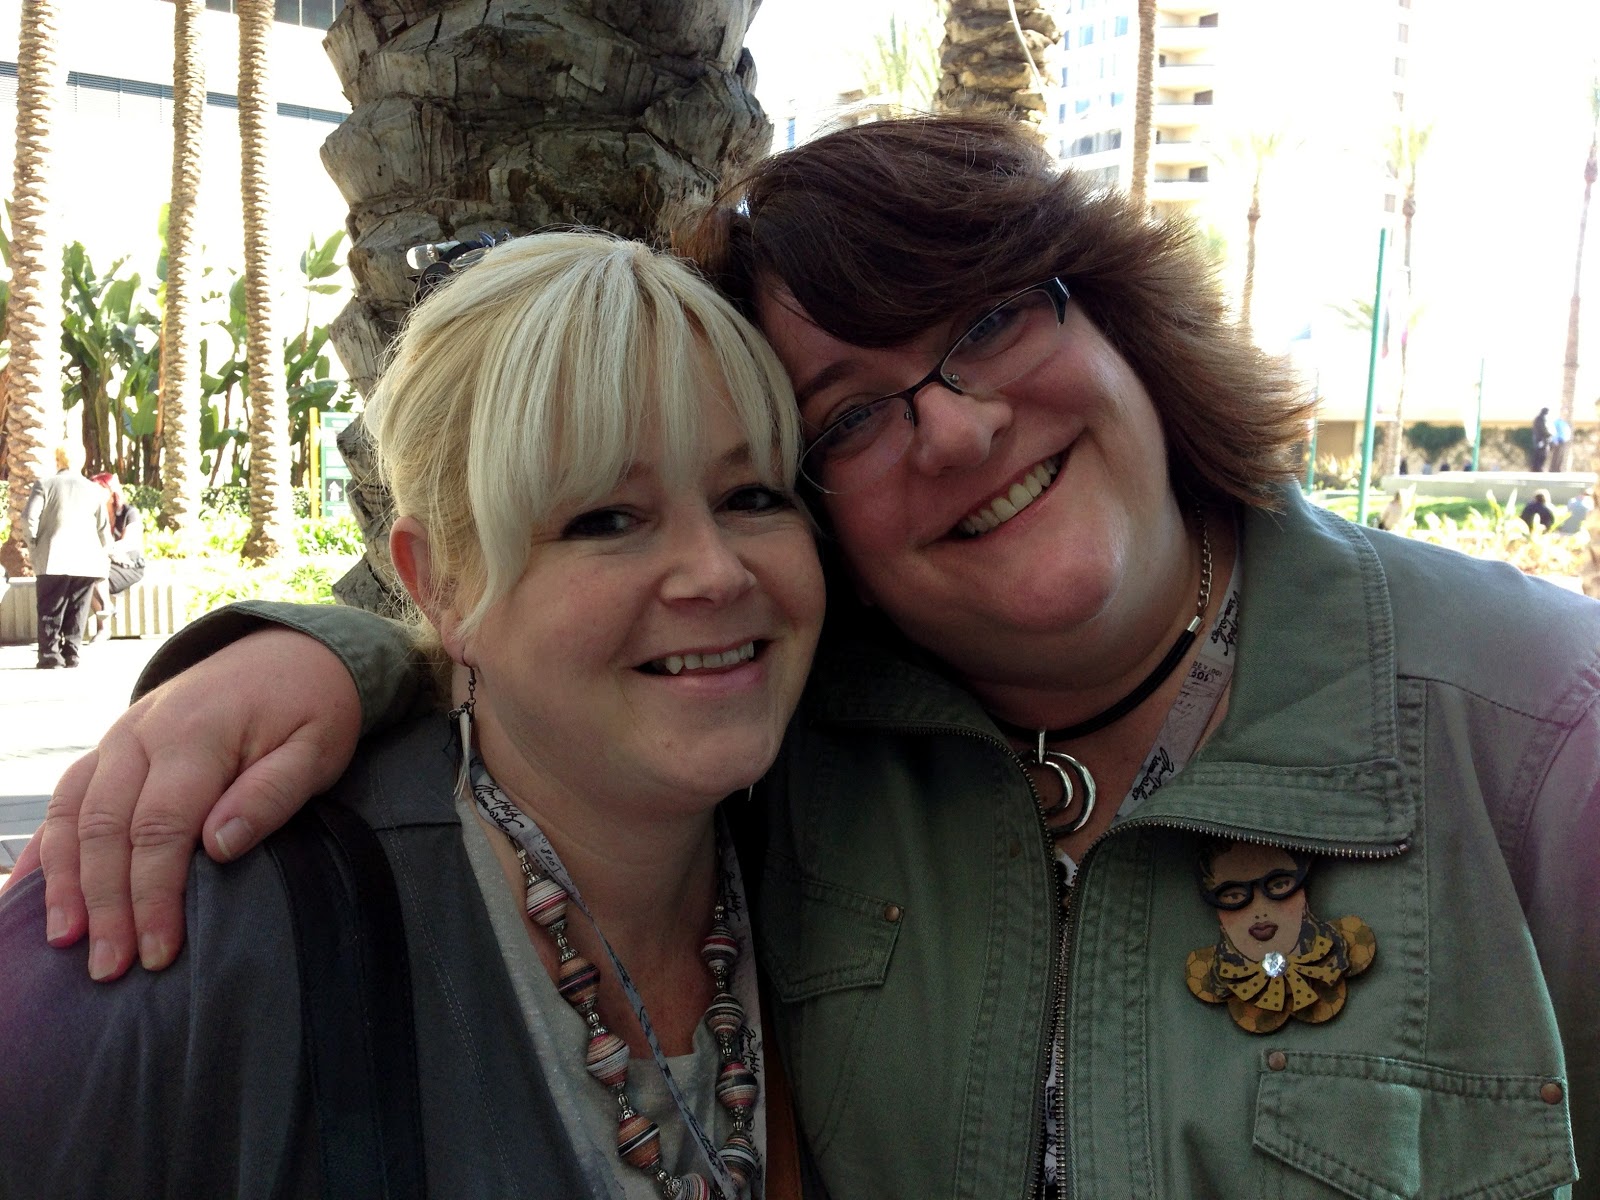
Here is our "Airport Girls" photo taken with Tim and Mario in the Ideaology booth at CHA ... two years after our first picture taken with them when we attended Ranger U.
The first day, we pretty much circled around the Ranger, Ideaology and Stampers Anonymous booths. So much to see ... so many demos to watch ... so many make and takes to do!
I am so proud to be a part of the Ranger family. Their booth was nothing short of amazing! At each corner, one of the rock stars of the industry


demonstrating new products and amazing everyone who watched.
 |
| Photograph by May Flaum |
The new DISTRESS PAINTS are Ahhh-Mazing! They are opaque and go on wet. But because they are water based, they can become semi transparent simply by adding water. While wet, they move and run together yet do not become "muddy". They each keep the integrity of their own colors...bright and beautiful! There are 24 and all in the Distress Colors that Tim Holtz fans know and love. When the paints are either heat dried or allowed to air dry, they become permanent. Go ahead...wipe some Distress Stains on them. Apply some Distress Inks over them. The Distress Paints won't change color! That's right ... Ahhh-Mazing!


Wendy Vecchi's new Embossing Paste ... it's so smooth, creamy and the end result is really cool! The embossed areas have such wonderful texture and the paste takes color from other mediums so perfectly. It's available in FOUR COLORS ~ White, Black, Silver and Gold. Check out THIS VIDEO to watch Wendy in action at CHA. I love it and can't wait to get it in my hands!

Dyan Reaveley's six new Dylusions Ink Sprays are still the vibrant, gorgeous colors you've come to expect from her. And ... she's added white!! Perfection!!
Check out all of the new Ranger Products HERE. And of course, all of these products and more are available at Simon Says Stamp and Inspiration Emporium, to name a few online locations.

The Ideaology booth provided so much inspiration, you couldn't take it all in at once. Everywhere you looked, more and more of the coolest creations ever! I'm sorry that I don't know who crafted all of these pieces but whoever you are, you are brilliant! Enjoy the view....


 Now, I do know that this piece is from the uber talented Jim The Gentleman Crafter. An Eiffel Tower constructed out of mini suitcases. Who thinks of THIS? Wouldn't you love to be milling around in his creative brain for a while? More about him in a minute ...

 All of these pieces amazingly beautiful and that's only scratching the surface. Tim has a whole lot of new Ideaology and I tell you, it's going to be so much fun to play with!
 Here was the make 'n take at the Ideaology booth! Waaaahhh...Amazing!
On to Sizzix and another of Jim The Gentleman Crafter's wonderful creations.
 This picture does not even begin to do justice to this beautiful work desk that he's created with Tim's new Paper Stash pad.
 A beautiful shadow box creation from the multi talented Tammy Tutterow.
 Very cool view finder piece using Tim's new Picture Wheel die cut.

 An array of beautiful projects all done with Sizzix.
While there, I got to visit with one of my favorite artists in the whole world...
 Shelly Hickox, that Stamptramp, seen here with one of her Sizzix pieces.
 On to the Stampers Anonymous Booth.


Finally, I wanted to take this opportunity to post some more pictures of some of the wonderful people that I met. Amazing talent, amazing people!!!
 Dina Wakely
What a talent this lady is! She inspired me to just go for it and get the courage to try some art journaling. I was lucky enough to win one of her Art Journal Freedom books she was autographing and giving away at a book signing during CHA.
 A British Sandwich ~ Hels Sheridan, Me and Dyan Reavely
 Jim The Gentleman Crafter
I just wanted to pack him in my suitcase and bring him home with me. This man is so kind and friendly to everyone. I don't think he has any idea how talented he really is. That is so refreshing and I think we will be hearing a lot more from this mahoosively talented man!
 More Ranger U grads ... Linda Ledbetter, Laura Denison, Me, Cheryl Grigsby, Anita Houston and of course, Jim The Gentleman Crafter.
 Myself, Hels Sheridan and my art journal and Dyan Reavely style guru Ellen Vargo. Ellen is tutoring me in the joys or art journaling and giving me the inspiration to give it a try!
 Hels and Ellen are soul sisters. I love them both dearly. When they get together, let the laughs begin!
 Anita Houston ... the Artful Maven and a really wonderful lady. I'm so glad we're friends! She is a real stitch!
 Wendy Vecchi and Dyan Reavely
These two ladies have no idea how much I learned from them and was inspired by them, just from watching their demos. Wendy was so kind and answered all sorts of questions. While she was demoing, she would keep giving out more and more ideas of how to use her products. I mean, she was like an encyclopedia of techniques and so readily shared them. Dyan, made working with her sprays so easy and relaxing. I really am anxious to "give it a play". Both ladies, different in their styles but the same in their kindness and willingness to share ideas.
 Dyan clowning around with Ted and Melissa Cutts in the Stampers Anonymous Booth. Two of the nicest, kindest people you would ever want to meet...and then there's Dyan. Just kidding! She has this aura about her that gives off vibes of sincerity, and a genuine style that is all her own. She's a jewel and I'm so happy that I finally got to meet her!
I hope you enjoyed this glimpse into CHA. It was so much fun and I am so happy that I was able to share this adventure with the beautiful ladies I call my dear friends!

Dyan Reaveley's six new Dylusions Ink Sprays are still the vibrant, gorgeous colors you've come to expect from her. And ... she's added white!! Perfection!!
Check out all of the new Ranger Products HERE. And of course, all of these products and more are available at Simon Says Stamp and Inspiration Emporium, to name a few online locations.
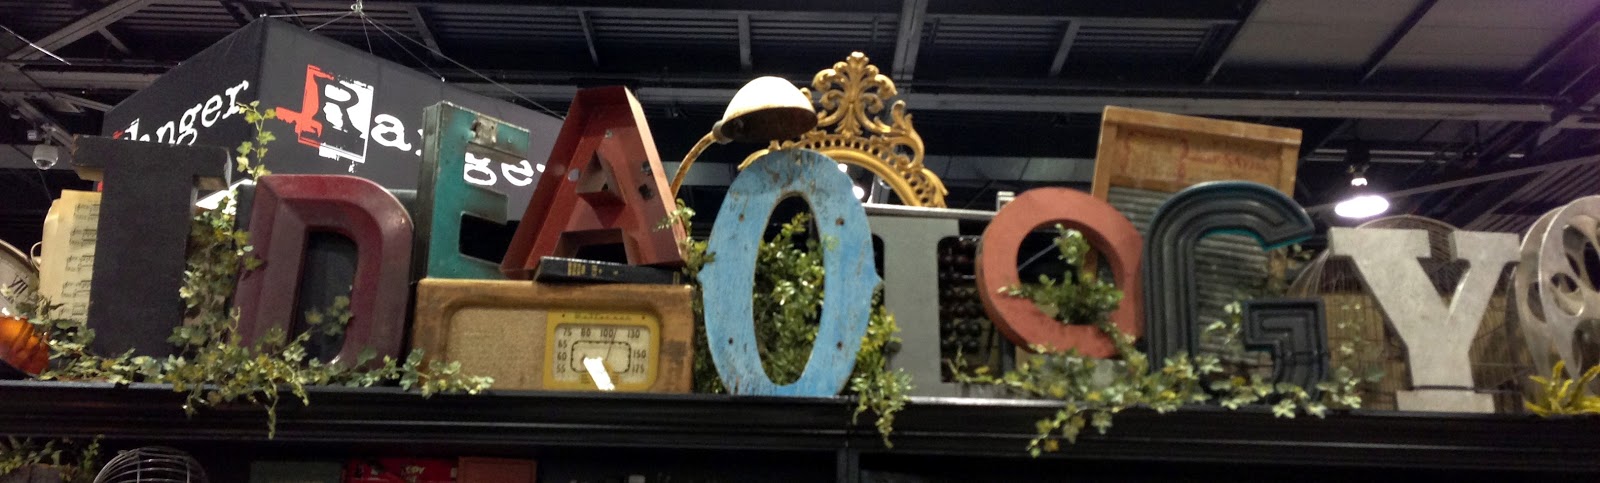
The Ideaology booth provided so much inspiration, you couldn't take it all in at once. Everywhere you looked, more and more of the coolest creations ever! I'm sorry that I don't know who crafted all of these pieces but whoever you are, you are brilliant! Enjoy the view....


On to Sizzix and another of Jim The Gentleman Crafter's wonderful creations.


While there, I got to visit with one of my favorite artists in the whole world...


Oh! I can't wait to get my hands on these! These are Tim's new stamp sets and they are a great mix of backgrounds, graphics and words.

In the same booth, Wendy's new stamp sets and Art Parts. A feast to the eyes for sure!


How is all of this for inspiration overload?
Finally, I wanted to take this opportunity to post some more pictures of some of the wonderful people that I met. Amazing talent, amazing people!!!

What a talent this lady is! She inspired me to just go for it and get the courage to try some art journaling. I was lucky enough to win one of her Art Journal Freedom books she was autographing and giving away at a book signing during CHA.


I just wanted to pack him in my suitcase and bring him home with me. This man is so kind and friendly to everyone. I don't think he has any idea how talented he really is. That is so refreshing and I think we will be hearing a lot more from this mahoosively talented man!


These two ladies have no idea how much I learned from them and was inspired by them, just from watching their demos. Wendy was so kind and answered all sorts of questions. While she was demoing, she would keep giving out more and more ideas of how to use her products. I mean, she was like an encyclopedia of techniques and so readily shared them. Dyan, made working with her sprays so easy and relaxing. I really am anxious to "give it a play". Both ladies, different in their styles but the same in their kindness and willingness to share ideas.

I hope you enjoyed this glimpse into CHA. It was so much fun and I am so happy that I was able to share this adventure with the beautiful ladies I call my dear friends!


