Showing posts with label Wendy Vecchi. Show all posts

Sunday, February 17, 2013

METALOGY - A STEAMPUNK HOT AIR BALLOON

Good Monday morning everyone! I hope you had a fantastic weekend!  It's time for this week's Simon Says Stamp and Show's challenge!  I LOVE this theme....
METALOGY!
When I think of metal, I immediately think "STEAMPUNK".  And when I think of steampunk, I think of hot air balloons.  So ...


I have designed this steampunk style hot air balloon that I discovered is very hard to photograph in order to reflect it's true dimension and vintage feeling!  It is approximately 9" long from clock key top to tassel bottom.


I began with a 3" styrofoam ball and Ranger's Metal Foil Sheet strips.  I cut them into 3/4" width strips and randomly cut their lengths.  I then laid my metal strips on my Ten Seconds Studio Humungo pad and ran a detail wheel down the edges of the strips; making the edges looked soldered. 


Since the Metal Foil Sheets already have an adhesive backing, it was easy to simply attach the strips to the styrofoam ball.  Then I added some little pearls to many areas of the soldered strips to look like rivets.

I wanted my hot air balloon to look vintage, so I painted over the metal foil first with black (heat set it dry) and then randomly dry brushed the "balloon" with a rusty acrylic paint color.  When that was dry, I lightly added some gold highlights with a Gold Paint dabber and also some gold paint swiped onto my finger. 

Next I wanted to add some metal chains to use not only to embellish the balloon but also to attach the "basket" underneath the balloon.  


I found a really cheap bag of cool assorted chains at a flea market and have used the heck out of them!  Here, I cut 5 1/2" sections of a gold link chain.  Then I cut it at 3 1/2", where I inserted Tim Holtz' Mini Gear and joined them to each section of the chain with his Jump Rings.  Then I attached the remaining bottom section of the chain.


Because I was using a styrofoam ball, I could simply attach the chains at the top with straight pins pushed into the ball.  I also anchored them to the sides of the balloon with a straight pin.  Here, you can also see the transformation of the hot air balloon itself, from shiny silver metal to a rusty, vintage, more steampunk look.  I liked the way the chains looked against the balloon but it still needed something.....more chains!


So, I mixed the colors of my chains and draped an antiqued silver link chain across the balloon, spanning from gold chain to gold chain.  I cut those silver sections of chains at 3" and secured them with the straight pins that I had used to anchor the gold chains in place on the sides of the balloon.  Finally, to hide where the chains all came together and also add some more "umphf" to the balloon, I heat embossed these wonderful little vintage looking star circles from Tim Holtz' Bitty Grunge stamp set using Queen's Gold Embossing Powder.  I cut them out, lightly distressed them with Gathered Twigs Distress Ink and hot glued them in place.  I love the vintage feeling they add.


I added this metal assemblage to the top of my balloon.  First a copper piece topped with an antique gold clock face and a Tim Holtz antique gold Clock Key on top.  All hare screwed together and hot glued in place.  This really finishes off the top of the hot air balloon nicely and adds to the steampunk charm.

Now I was ready to create and attach the "basket" to my hot air balloon.  In keeping with the Metalogy theme, I wanted the basket to be metal but I wasn't sure how to go about creating it.  Then it hit me .... a bathroom size Dixie cup!!!


Even the bathroom size cup proved to be a bit too tall for my liking, so I measured 1 1/2" up from the bottom and cut around the cup.  Next, I cut a piece of Ten Seconds Studio's chocolate colored sheet metal to cover my Dixie cup.  I dry embossed it using Tim Holtz' Checkerboard Texture Fade and then slightly sanded the raised areas of the metal.  Finally, I added highlights of gold onto the checkerboard pattern using my Gold Paint Dabber.  


The "basket" was really coming together but, even with the embossing, it still looked plain to me.  So, I added some metallic foil Dresden trim to the top and bottom.  Then I hot glued four of Tim Holtz' Pen Nibs to the basket to attach the gold chains from the hot air balloon.  I adjusted the lengths of the bottom section of the gold chains to proportionally fit the hot air balloon to the basket (leaving just 4 links of gold chain underneath the Mini Gears).


Underneath the hot air balloon, I added an assemblage of a Tim Holtz' Mini Gear and a Tassel in the center to attach to the underside of the balloon "basket".  Now the balloon was finished but it needed a passenger.


So I stamped one of my favorite fellas from Wendy's Vecchi's European Art stamp set onto a piece of Manila Cardstock using Coffee Archival Ink.  Then I colorized him using Milled Lavender (skin tones) and Tumbled Glass (shirt) Distress Inks and a Small Sakura Water Brush.  I attached more Mini Gears to his hat and a steampunk-ish hand from Tim Holtz' Warehouse District stamp set.  It is attached with a coiled piece of wire.  


Finally, I added a little "signage" to my balloon:  an "Admit One" ticket and an "Enjoy The Journey" flying banner.  Enjoy the journey is appropriately enough from Tim Holtz' Going Somewhere stamp set.  Both pieces are stamped on Manila Cardstock and distressed with Gathered Twigs and edged with Black Soot Distress Inks.


So, that it's it ... my high flying steampunk chap in his metallic hot air balloon!

Check out the wonderful metal inspiration from all of the Design Team over at Simon Says Stamp and Show and then enter our challenge. You could be the lucky random winner of our ...


$50.00 credit voucher to spend at Simon Says Stamp!  You might also be one of our very talented TOP THREE choices for the week! 

I hope my metal hot air balloon has gotten your creative wheels turning!  Thanks for stopping by my blog and good luck with this week's challenge!

Here are the products available at Simon Says Stamp that were used in this project:


Thursday, January 17, 2013

CHA 2013 ~ LET THE CREATIVITY BEGIN!

Hello everyone!  I'm just back from an amazing adventure at CHA 2013 in Anaheim, California.  It was fabulous in so many ways.  The creative vibe was electric!  Everywhere you looked, beautiful projects filled welcoming vendor's booths.

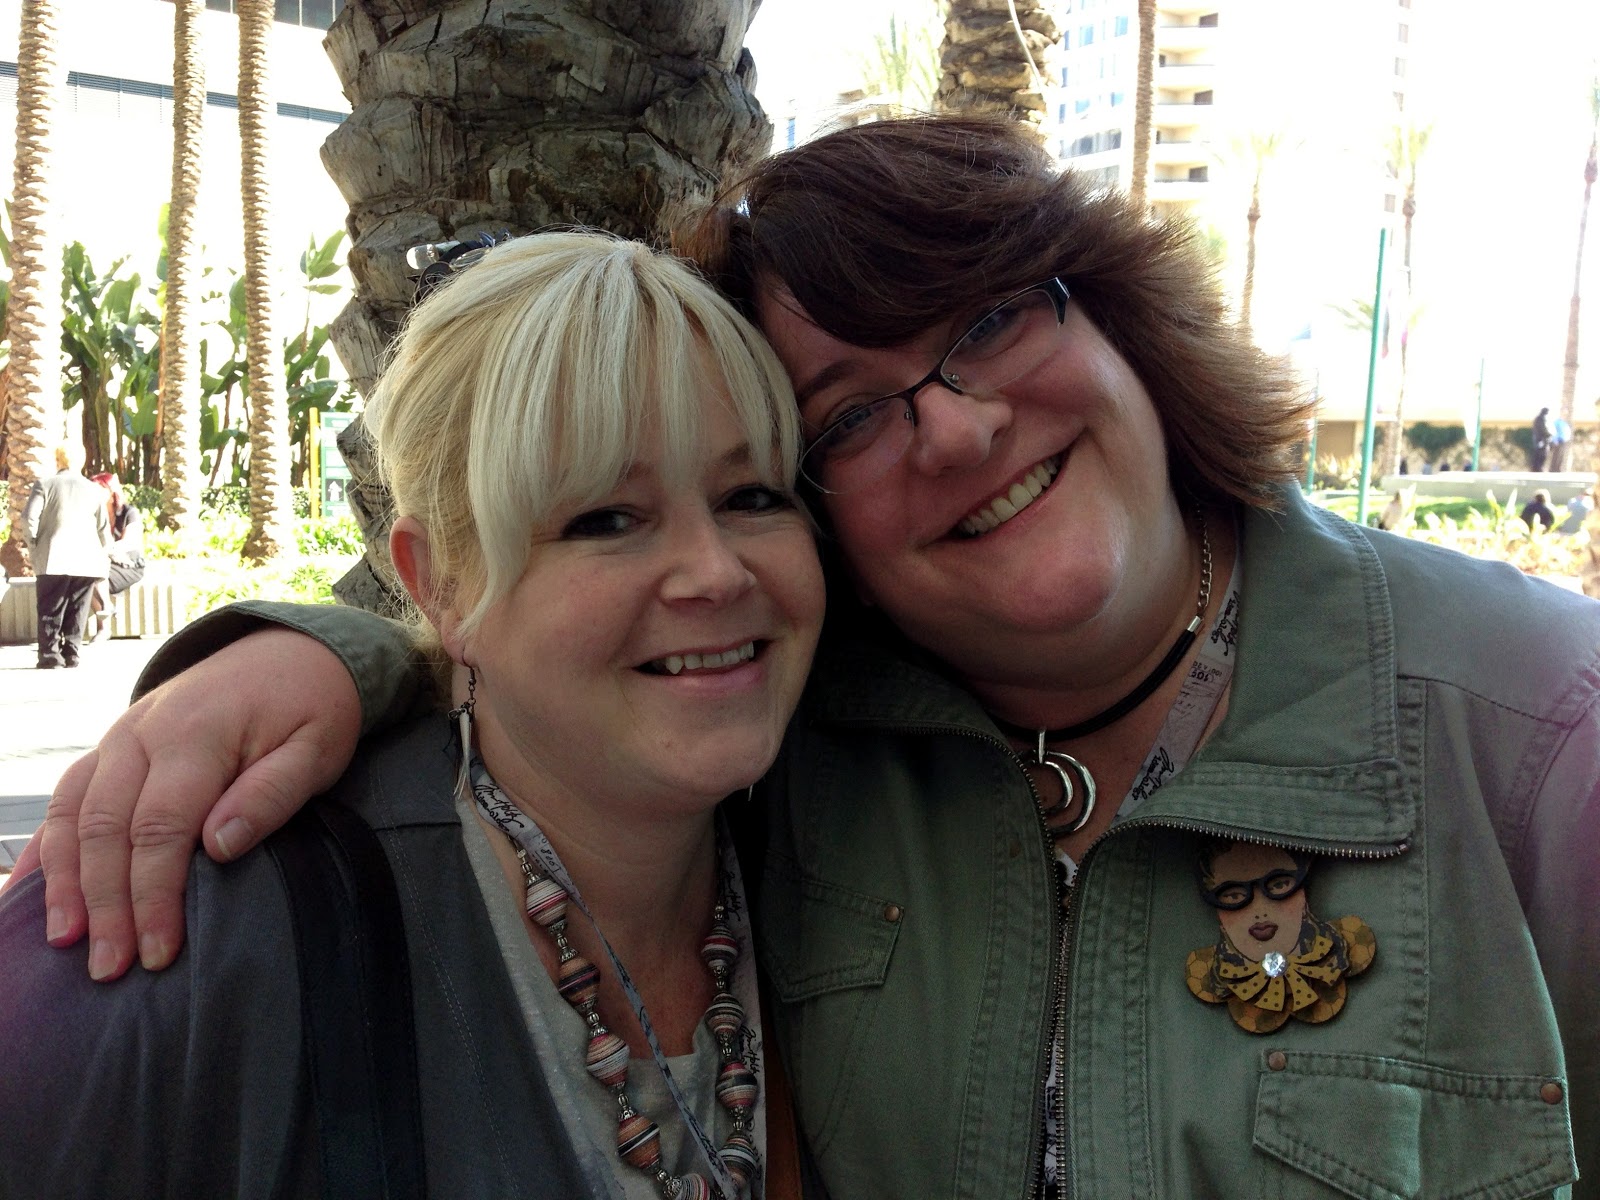
But, even more amazing than the booths were the PEOPLE.  The "Airport Girls" were reunited!  They were the four lovely ladies who waited for me for HOURS, I mean HOURS at the airport when flights were being cancelled like crazy as we were all trying to get to Ranger U two years ago.  Hels Sheridan, Cheryl Grisby, Yvonne Blair and Linda Ledbetter ... I love you guys like crazy.  But wait ... there were more lovely ladies who are part of our happy little crew.  Enter Anita Houston, Ellen Vargo and Susan Mostek.  We had more fun than a barrel of monkeys!

Here is our "Airport Girls" photo taken with Tim and Mario in the Ideaology booth at CHA ... two years after our first picture taken with them when we attended Ranger U.

The first day, we pretty much circled around the Ranger, Ideaology and Stampers Anonymous booths.  So much to see ... so many demos to watch ... so many make and takes to do!

I am so proud to be a part of the Ranger family.  Their booth was nothing short of amazing!  At each corner, one of the rock stars of the industry

 Tim Holtz 


demonstrating new products and amazing everyone who watched.

Photograph by May Flaum
The new DISTRESS PAINTS are Ahhh-Mazing! They are opaque and go on wet.  But because they are water based, they can become semi transparent simply by adding water.  While wet, they move and run together yet do not become "muddy".  They each keep the integrity of their own colors...bright and beautiful!  There are 24 and all in the Distress Colors that Tim Holtz fans know and love.  When the paints are either heat dried or allowed to air dry, they become permanent.  Go ahead...wipe some Distress Stains on them.  Apply some Distress Inks over them.  The Distress Paints won't change color!  That's right ... Ahhh-Mazing!

 
Wendy Vecchi's new Embossing Paste ... it's so smooth, creamy and the end result is really cool!  The embossed areas have such wonderful texture and the paste takes color from other mediums so perfectly.  It's available in FOUR COLORS ~ White, Black, Silver and Gold.  Check out THIS VIDEO to watch Wendy in action at CHA.  I love it and can't wait to get it in my hands!


Dyan Reaveley's six new Dylusions Ink Sprays are still the vibrant, gorgeous colors you've come to expect from her.  And ... she's added white!!  Perfection!!

Check out all of the new Ranger Products HERE. And of course, all of these products and more are available at Simon Says Stamp and Inspiration Emporium, to name a few online locations.


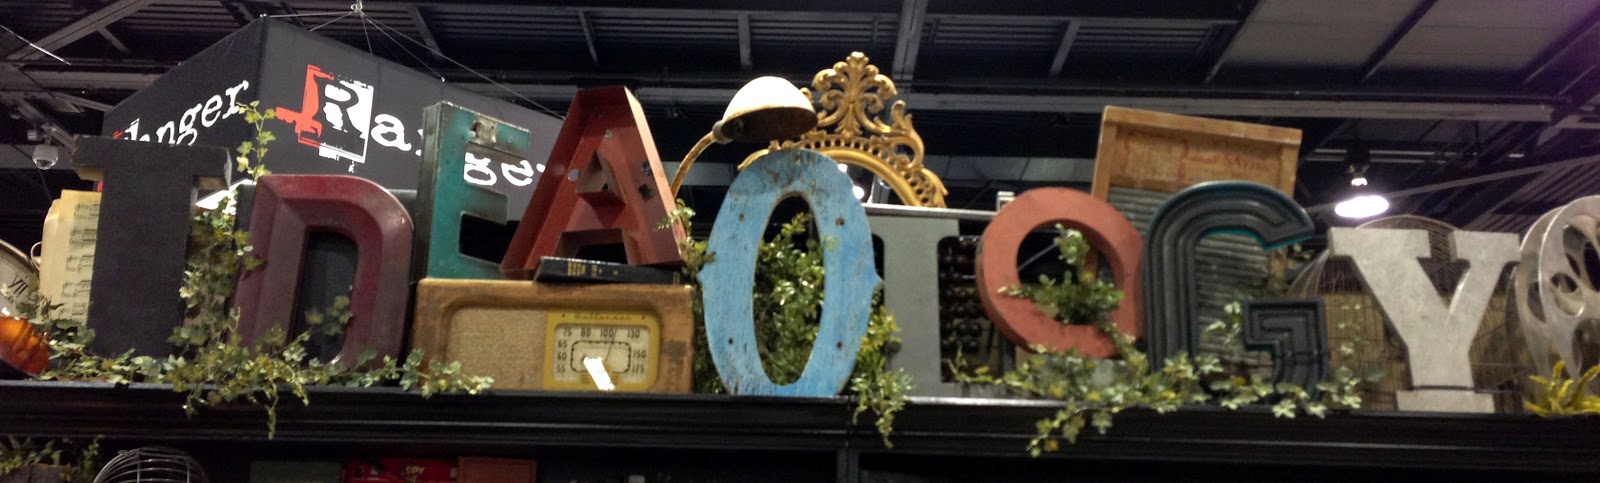
The Ideaology booth provided so much inspiration, you couldn't take it all in at once.  Everywhere you looked, more and more of the coolest creations ever!  I'm sorry that I don't know who crafted all of these pieces but whoever you are, you are brilliant! Enjoy the view....

Now, I do know that this piece is from the uber talented Jim The Gentleman Crafter. An Eiffel Tower constructed out of mini suitcases.  Who thinks of THIS?  Wouldn't you love to be milling around in his creative brain for a while?  More about him in a minute ...
All of these pieces amazingly beautiful and that's only scratching the surface.  Tim has a whole lot of new Ideaology and I tell you, it's going to be so much fun to play with!

Here was the make 'n take at the Ideaology booth!  Waaaahhh...Amazing!

On to Sizzix and another of Jim The Gentleman Crafter's wonderful creations.


This picture does not even begin to do justice to this beautiful work desk that he's created with Tim's new Paper Stash pad. 
 A beautiful shadow box creation from the multi talented Tammy Tutterow.
Very cool view finder piece using Tim's new Picture Wheel die cut.
An array of beautiful projects all done with Sizzix.

While there, I got to visit with one of my favorite artists in the whole world...

Shelly Hickox, that Stamptramp, seen here with one of her Sizzix pieces.

 On to the Stampers Anonymous Booth.

Oh! I can't wait to get my hands on these!  These are Tim's new stamp sets and they are a great mix of backgrounds, graphics and words.

In the same booth, Wendy's new stamp sets and Art Parts.  A feast to the eyes for sure!


How is all of this for inspiration overload?

Finally, I wanted to take this opportunity to post some more pictures of some of the wonderful people that I met.  Amazing talent, amazing people!!!


Dina Wakely 

What a talent this lady is! She inspired me to just go for it and get the courage to try some art journaling. I was lucky enough to win one of her Art Journal Freedom books she was autographing and giving away at a book signing during CHA.


A British Sandwich ~ Hels Sheridan, Me and Dyan Reavely


Jim The Gentleman Crafter

I just wanted to pack him in my suitcase and bring him home with me.  This man is so kind and friendly to everyone.  I don't think he has any idea how talented he really is.  That is so refreshing and I think we will be hearing a lot more from this mahoosively talented man!


More Ranger U grads ... Linda Ledbetter, Laura Denison, Me, Cheryl Grigsby, Anita Houston and of course, Jim The Gentleman Crafter.

 Myself, Hels Sheridan and my art journal and Dyan Reavely style guru Ellen Vargo.  Ellen is tutoring me in the joys or art journaling and giving me the inspiration to give it a try! 

 Hels and Ellen are soul sisters.  I love them both dearly.  When they get together, let the laughs begin!

 Anita Houston ... the Artful Maven and a really wonderful lady.  I'm so glad we're friends!  She is a real stitch!

Wendy Vecchi and Dyan Reavely

These two ladies have no idea how much I learned from them and was inspired by them, just from watching their demos.  Wendy was so kind and answered all sorts of questions.  While she was demoing, she would keep giving out more and more ideas of how to use her products.  I mean, she was like an encyclopedia of techniques and so readily shared them.  Dyan, made working with her sprays so easy and relaxing.  I really am anxious to "give it a play".  Both ladies, different in their styles but the same in their kindness and willingness to share ideas.

Dyan clowning around with Ted and Melissa Cutts in the Stampers Anonymous Booth.  Two of the nicest, kindest people you would ever want to meet...and then there's Dyan.  Just kidding!  She has this aura about her that gives off vibes of sincerity, and a genuine style that is all her own.  She's a jewel and I'm so happy that I finally got to meet her!

I hope you enjoyed this glimpse into CHA.  It was so much fun and I am so happy that I was able to share this adventure with the beautiful ladies I call my dear friends!