This week, Simon Says Stamp wants you to show "A Word". No...my word is not "MEMORIES". This is a box I found at Hobby Lobby quite a while back and had never done anything with it. But, I thought it had potential.


So, I stripped it down to the bare box (which didn't take much doing) and covered the entire box (inside and out) with various papers from 7 Gypsies Lille 8x8 Paper Pack. I love those papers! They are bright and fun and have all sorts of vintage images. They are a cross between Life Is Good and a travel theme.
I had a lot of fun cutting, gluing, stamping, distressing, transferring and embellishing. Here is my new creation; an altered box. My word is ..."JOURNEY".


I had a lot of fun cutting, gluing, stamping, distressing, transferring and embellishing. Here is my new creation; an altered box. My word is ..."JOURNEY".

The map on the top of the box was stamped using Tim Holtz' Air Travel Stamp Set. I liked the top, but it needed something else. So, I found a couple of neat architectural images; a column and an arched window that I thought would work perfectly. I sized them and printed them out in black and white on inexpensive printer paper. I brushed the top of the box to seal it with Claudine Hellmuth's Multi Matte Medium and let it dry. Then I brushed my printed images with the matte medium and pressed them onto the top of the box where I wanted them to transfer. I let them sit for about twenty minutes and then began gently peeling off the paper backing. I lightly sprayed that area with water from a Mini Mister and gently rubbed off the excess paper pulp. I love how they look kind of "ghosty". I lightly brushed a wash of Golden's Yellow Ochre and water over the top of the box to blend everything together even more. Then I brushed over everything again with the matte medium. When dry, I distressed the edges of the top of the box with Walnut Stain Distress Ink. Actually, I distressed all of the edges of the papers before I glued them in place with Walnut Stain. Then I added a few white rub on flourishes...very subtle but effective.

I added the Filmstrip Ribbon to run underneath the double Rosette I cut from Tim Holtz' Paper Rosette Die Cut. On top of the Rosette is a compass I fashioned out of a Pocket Watch, Sprockets and Gears, and Game Spinners. What "JOURNEY" box would be complete without one of Tim Holtz' vintage car images on it? One of my favorite is on Tim's Road Trip Stamp Set. "JOURNEY" is stamped using Oxford Impressions Scrabble Tile letters from their Playful Stamp Set. I matted them on some black cardstock and sealed them with Glossy Accents. The two metal keys were some of my "found objects" from my flea market adventures. Check out the one that says "GAS". I couldn't believe it when I ran across THAT one! How appropriate for a "JOURNEY" box!!
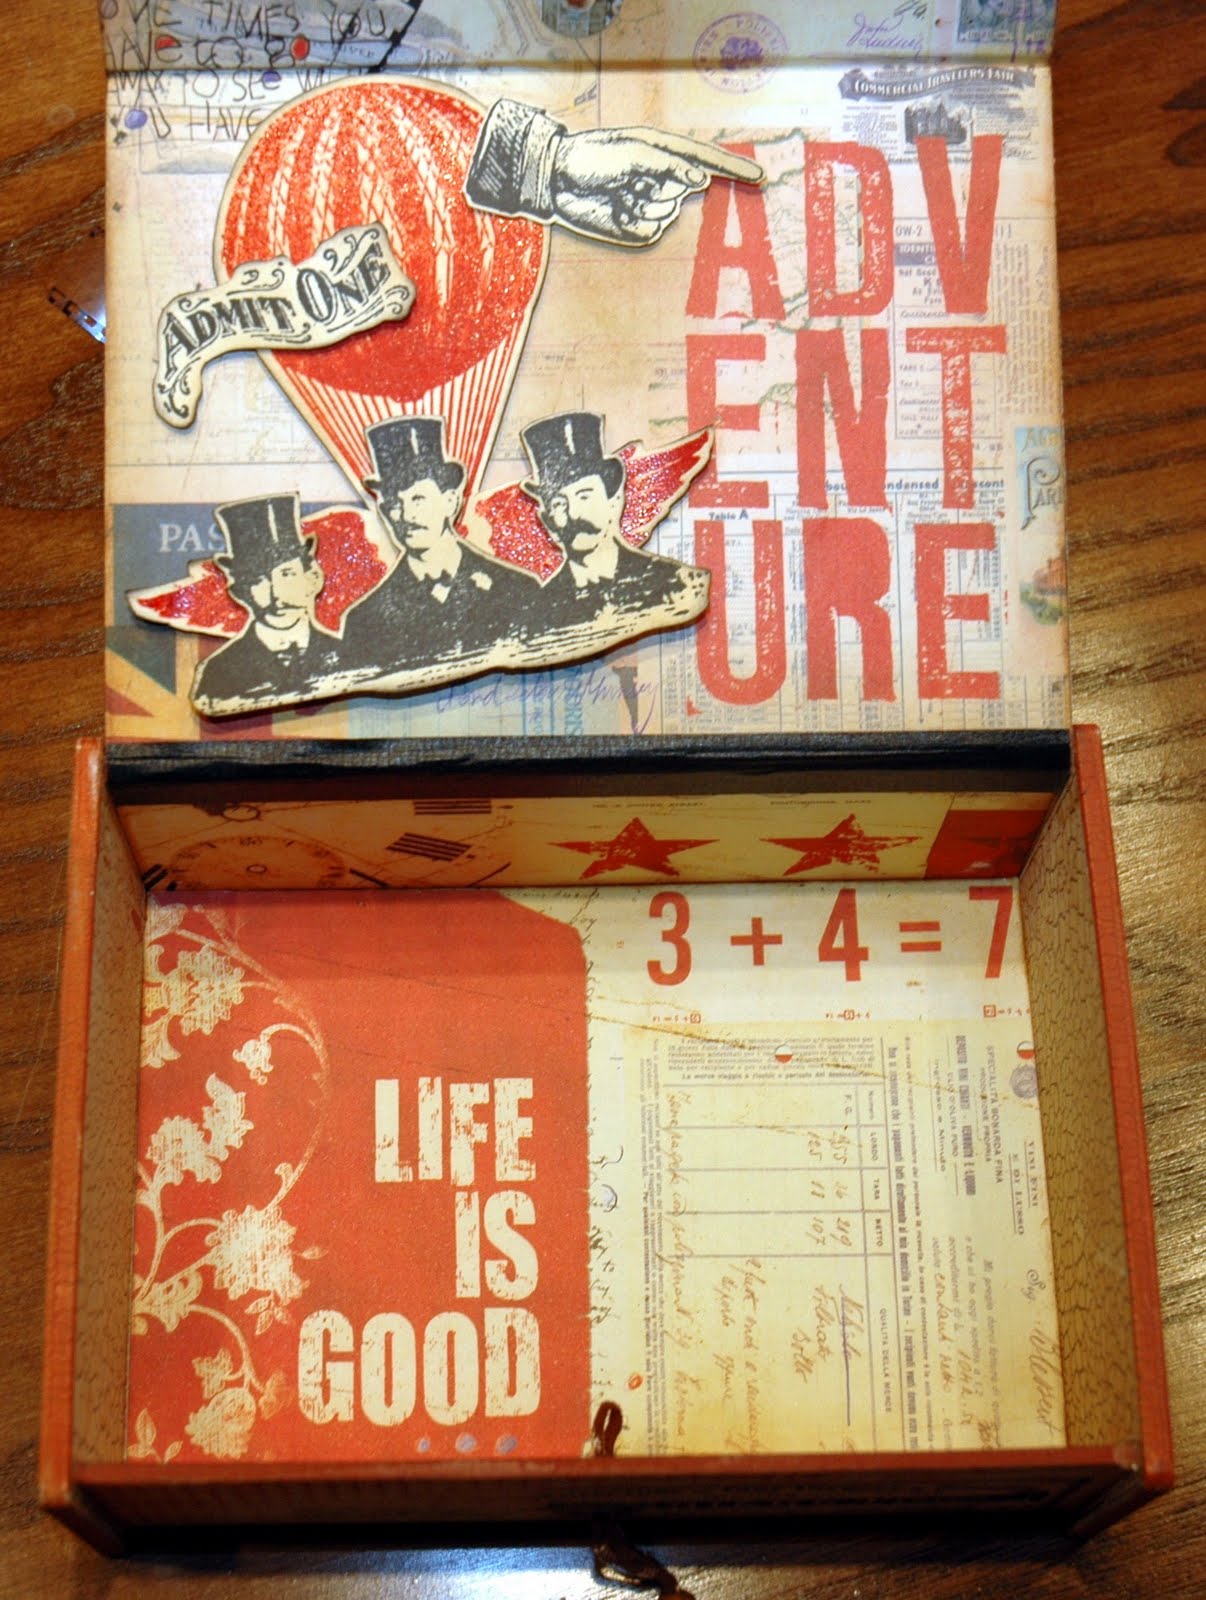
This is a picture of the inside of the box. The paper itself is enough. "LIFE IS GOOD and "ADVENTURE" were already printed on the papers. But the inside top of the box was a bit bare. So, I combined images from Tim's Steampunk Stamp Set and Oxford Impressions' Steampunk Stamp Set to create the winged hot air balloon, the three gentlemen and other steampunk images.
Now I had a new box but it was empty. So, I decided to make a mini gatefold paper bag book to put inside the box. I used the smaller size "Celebrate It" paper bags from Michaels and covered them with Lille Papers. It fit perfectly!!!
Now I had a new box but it was empty. So, I decided to make a mini gatefold paper bag book to put inside the box. I used the smaller size "Celebrate It" paper bags from Michaels and covered them with Lille Papers. It fit perfectly!!!

Here is the little mini gatefold book tucked inside of the JOURNEY box.


Thanks for joining me on my "JOURNEY" today. Now it's YOUR turn to choose a word create a project to post to SIMON SAYS STAMP AND SHOW'S CHALLENGE. Hop on over and take a look! My very talented and creative Design Team Buddies have created some really awesome "WORD" pieces to share with you! One lucky winner will receive a generous gift from our sponsor of a ........ Drum Roll ......

We also choose THREE gifted artists' work each week to be given special recognition by receiving a TOP 3 BLINKIE that can be proudly displayed on your blog. So, put on your thinking caps and SHOW US A WORD!!!


