Ho Ho Ho! It won't be long now until Santa will be making his rounds. Have you been naughty or nice?
This week's Simon Says Stamp and Show Challenge is appropriately
themed "Gift Inspiration".
Stop by the blog and check out the beautiful gift ideas my Design Teammates have created just for you...all so unique and beautifully crafted.
I have created something that I would love to have received as a gift.

This is a birthday calendar in an album form. I am always forgetting someone's birthday. Having to transcribe birthdates from one calendar to another every year is a royal pain. So, I created this very sturdy birthday album with separate pages for each month of the year and a list of the birthdates I want to be reminded of from year to year.
Here were my basic supplies to create the album:
Two - 5 1/8" x 6 7/8" chipboard pieces for the cover
One - 6 7/8" x 2 1/2" chipboard piece for the spine
One - 3 1/2" x 8" cardstock for the spine cover
Two - 6 1/2" x 8" cardstock for the album covers
One - 4 1/2" x 8" cardstock to join the spine to the covers
One - Piece of Tyvek slightly smaller than the two 4 1/2" x 8" cardstock pieces that join the covers
Six - 4" x 6" chipboard pieces that will create the inside pages
Twelve - 4" x 6" cardstock pieces to cover the pages (should be coordinating)
Twelve - 4 1/2" x 3 1/2" cardstock to create the pockets for the pages
One - 4 1/4" x 5 1/2" cardstock to create the pocket for the back cover

I began by covering my chipboard album with papers from Prima's beautiful Ledger #1 Paper Pad. I covered each of the album covers and cut the corners on diagonal.

Then I added the 1/4" Scor Tape to the inside edges and folded them up into place; covering the front and back covers of my album. I also distressed all of the corners and edges using some Gathered Twigs Distress Ink and a Chestnut Roan Cats Eye Ink Pad.

Then I assembled the spine. First I attached the Tyvek (cut slightly smaller than the cardstock) onto the piece of cardstock that was cut 4 1/2" x 8" by using 1/4" Scor-Tape. Next I placed the paper covered (and double side taped on the backside) chipboard spine to the center of the spine assembly. Next I added more 1/4" Scor-Tape to the outside edges of the cardstock that was still sticking out from either side of the chipboard spine. I laid the front cover at a 90 degree angle, next to the spine chipboard and gently pulled the cardstock onto the cover and ran my finger over the tape to let it take hold of the cover. (That allows for the cover to bend and not be too rigid). I repeated this process to attach the back cover. I then measured the hole placement for Tim Holtz' Large Ring Binder and made my holes.

I slipped the Ring Binder in place in the center of the interior spine.

Here is what the covers look like from the outside with the binder installed. Next I covered the two interior covers of the album with a distressed coordinating paper.

I had a Cuddlebug embossing folder titled "Madison" that I thought would create beautiful "vintage" style embossed pieces for my cover. So, I used Ranger's Metal Tape Sheets as the base. Then I antiqued the covers with a wash of Burnt Umber Acrylic Paint and water. I brushed it on; getting into all of the crevasses and then dabbed off the excess.

The shiny embossed metal was transformed into this antiqued look.
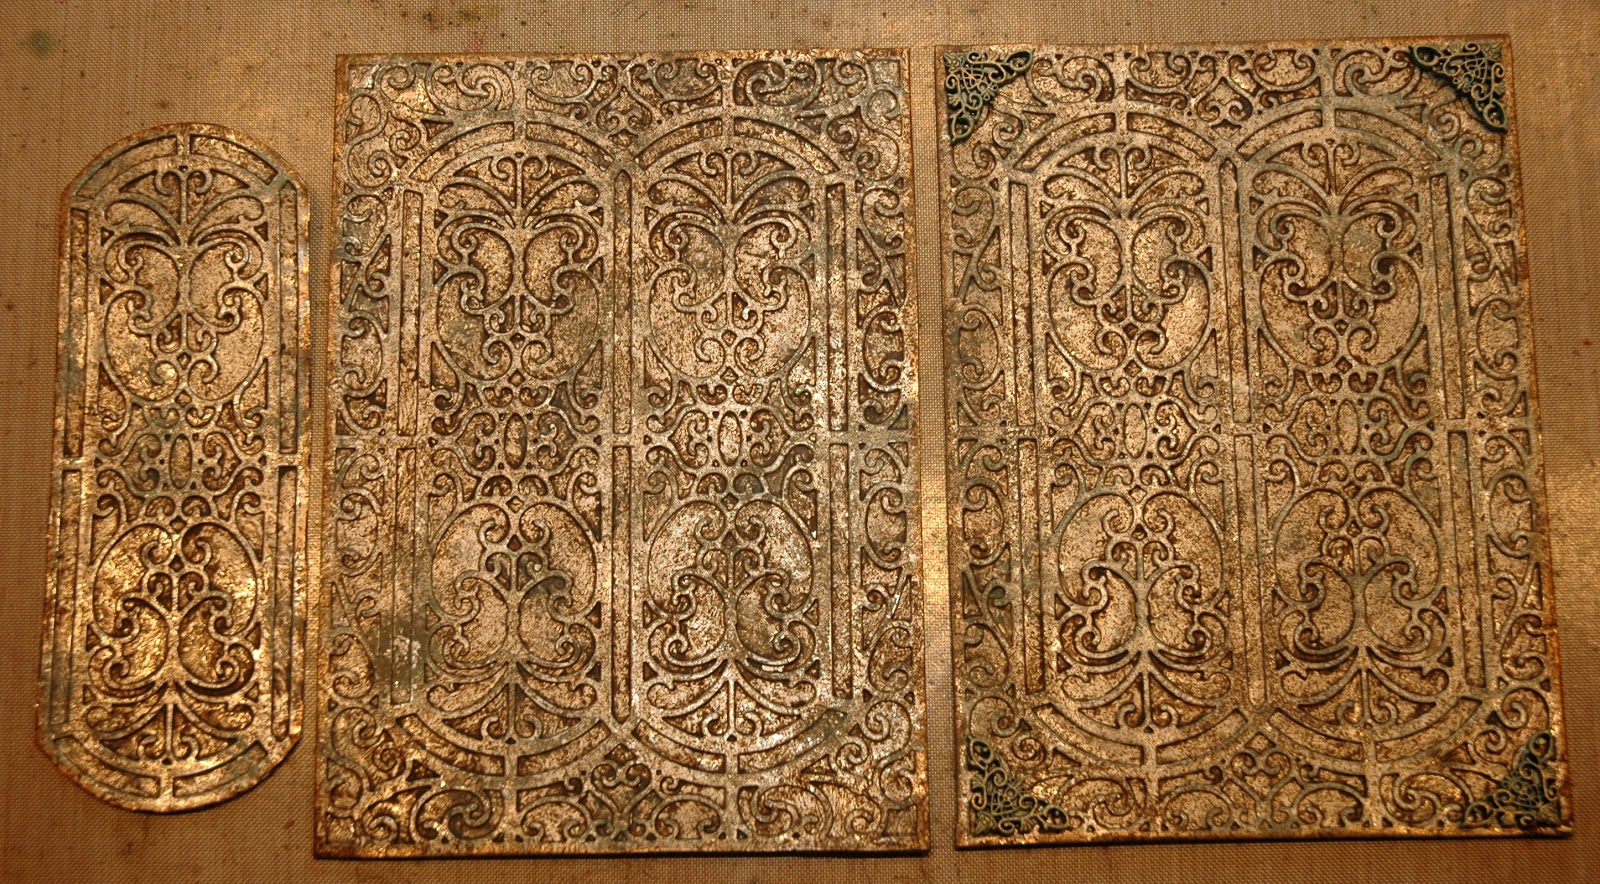

I cut out one of the entwined rectangles to create a decorative cover on the spine of the album, to hide the brads from the Large Ring Binder.

Here is a look at the completed outside cover. The embossed pieces were attached using 1/4" Scor-Tape and glue (on the spine) piece.

Here is more of a closeup picture of the beautiful embossed "antiqued" design of the metal foil sheet.

Each of the 6 chipboard pages were covered with coordinating papers and then I created pockets for each page (to hold the monthly birthday sheets that I created on my computer using Print Shop). I computer generated the months of the year and printed them out on manila cardstock. They were then attached to each pocket BEFORE I added them to the chipboard page.

Here is a look at the finished interior pages. There is one page for each month and inside each pocket are "birthdate" sheets numbered from 1 - 31. I can now write the name of the person on the appropriate line and stick it in the correct month.

The back cover has a pocket that holds extra birthdate pages.
Why not join us and create some gift inspiration? Enter it into our challenge and YOU could be the winner of our ...

$5.0.00 gift voucher. Now THAT is a little gift inspiration! You could also be chosen as one of our TOP THREE entries for the week! Good luck!!
Here are the products available at Simon Says Stamp and Show
that I used in creating this album:


