Is it raining where you are? It's been raining off and on all week here!
I NEED some SUNSHINE! But, at least when it's raining outside,
you can be spending time in the craft room and that is exactly what I have done.
Welcome to challenge number THIRTY ONE out of thirty four of the
Compendium of Curiosities III Challenges hosted by the lovely Linda Ledbetter. The multi talented Curiosity Crew has once again created an array of very creative pieces to inspire you.
This challenge showcases the products, techniques and style of the one and only
Tim Holtz. We invite you to join in on the fun and create your own original art and link to our challenge. There are two chances to win with each challenge and you can win some really generous and wonderful prizes!
Speaking of the Compendium of Curiosities III Challenges, have you guys seen the entries to our last challenge using the Faux Cracked Glass technique? If not, you really need to check them out! There is some seriously fabulous technique and art there!
Back to THIS challenge ... turn to page 47 in your Compendium of Curiosities III books and check out the Layering Stencil: Paint Resist technique.

Here are my finished art journal pages done with Tim's technique in the background. While I can't share the actual technique with you ... that is what you need the book for ... I will share with you all of the products I used and the steps leading up to and following the actual Layering Stencil: Paint Resist technique. I will also share some little tips with you along the way.
If you follow my blog, you know that I love to create as I go ... nothing pre planned ... just got for it. I paint more with my fingers and baby wipes than I do a brush. At least for me, when I work this way, I seem to get more "into" what I'm doing and I "feel" the surfaces and direction my project wants to go much better than when my hands are clean. I hope that makes sense.
Okay, let's get started talking about these latest Compendium of Curiosities III Challenge inspired art journal pages.

I really love altering things. When I have some free time, I've been altering pages in a paperback children's book that was given to me; in effect, creating my own art journal!
While art journals are nice, with a little imagination, you can pretty much make one out of anything!
The pages measure 8" x 9" each ... plenty of room to play, experiment and create! I began this art journal spread by covering the pages above with a generous coat of White Gesso, using a palette knife.

Once I spread the Gesso, I let it air dry. I love using Gesso on top of a substrate because it gives me a totally different surface to work on. It allows some of the images from the pages below to still show through (depending on how heavy I apply the Gesso) and it provides me with a surface that will accept a lot of different mediums I may chose to work with.

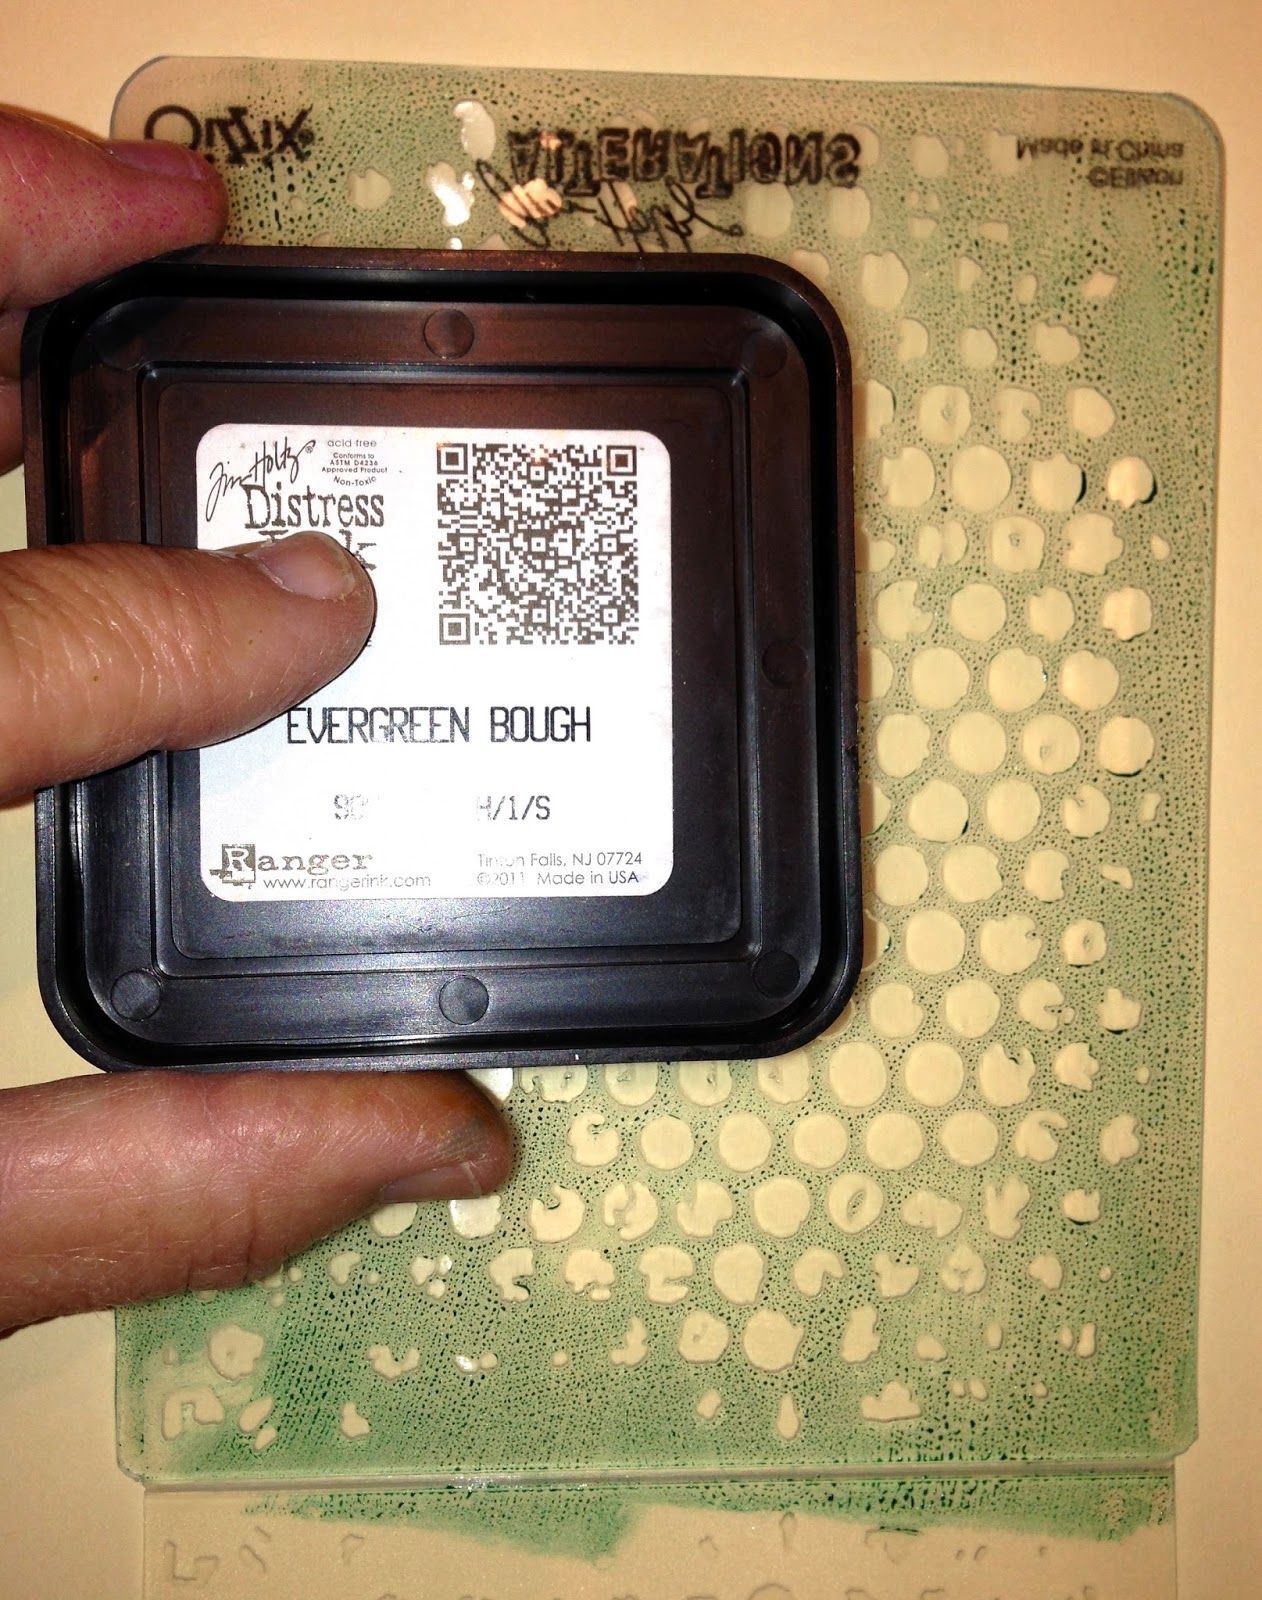
Once the Gesso was dry, I began adding some of Tim's Distress Paint to the surface to soften the stark white background. I used a baby wipe to apply the color. I began with Scattered Straw, a wonderful soft vintage yellow-ish golden color.

To the Scattered Straw, I added the rich and orange-ish Wild Honey followed by Tim's new luscious green Cracked Pistachio Distress Paints. Again, I was working with a baby wipe to apply the paint to my art journal pages. Then I heat set them to speed up the drying process.

I love the richness of this background! The colors dry to a beautiful matte finish. But, as I was about to discover, to do the Layering Stencil: Paint Resist Technique, Tim's Distress Inks did not want to adhere to my slick new surface.
So, I sealed them with some clear drying Matte Medium. I used a brush to apply the Matte Medium and gently heat set it to dry. Then I lightly sanded the pages so that the inks would grab to my modified surface.

Using Tim's Layering Stencil Paint Resist Technique, I went to work. In the photo above, you can see a closeup of my pages with all of the layers of color and stenciled images.
The resist paint portion of this technique was done using Picket Fence Distress Paint and Tim's Numbered and Splotches Stencils.
To create all of the layers of color on top, I used the following Distress Ink Colors:
Fired Brick, Wild Honey, Peacock Feathers, Gathered Twigs, Ripe Persimmon, Twisted Citron, Mermaid Lagoon
The Tim Holtz Stencils I used to create the layers of images were: Bubble, Harlequin, Cargo, Bricked and Latticework.
If you look closely, you can see most of those stenciled images in the photo above.
Remembering that I was working with Distress Inks and that they are water soluable (meaning that they will change or can be removed with water), I decided to spray seal my pages before going forward. So I chose a clear, matte sealer and lightly sprayed the surface of the pages then gave it a bit of a heavier coat to seal my pages ... for whatever I may decide to add to them next.
Remembering that I was working with Distress Inks and that they are water soluable (meaning that they will change or can be removed with water), I decided to spray seal my pages before going forward. So I chose a clear, matte sealer and lightly sprayed the surface of the pages then gave it a bit of a heavier coat to seal my pages ... for whatever I may decide to add to them next.

And here is a larger picture of the finished Layered Stencil: Paint Resist Technique pages. I am always amazed at how much depth you can achieve by layers upon layers of color and images. And you NEVER get the exact same look twice! (Before I began adding my embellishments to the pages, I used a messy, artsy script stamp from Dina Wakley's Textures stamp set to randomly add touches of black and yet another pattern to the pages. The black stamping really pops the characters and marbles I was about to add.
My pages were really bright with color and have a very whimsical feeling to me. So, I decided to add some character from Dyan Reaveley's stamp sets. They are fun and who doesn't love playing with paper dolls???

So I stamped some of her funky people with mix and match body parts onto some Specialty Stamping Paper using Jet Black Archival Ink. (Heat set the black permanent ink.) I brought them to life using Tim's Detailer Water Brush and various colors of his Distress Inks. I heat set all of the characters, fussy cut around them, leaving a white border and glued heads to bodies.
Some of the Distress Ink colors I used to paint onto my characters are: Ripe Persimmon, Squeezed Lemonade, Cracked Pistachio, Mermaid Lagoon, Tumbled Glass, Festive Berries, Gathered Twigs, Picked Raspberry, Peacock Feathers, Tea Dye, Fossilized Amber and Tattered Rose and Scattered Straw when mixed together make a great flesh tone then add Tattered Rose for the cheeks.
Some of the Distress Ink colors I used to paint onto my characters are: Ripe Persimmon, Squeezed Lemonade, Cracked Pistachio, Mermaid Lagoon, Tumbled Glass, Festive Berries, Gathered Twigs, Picked Raspberry, Peacock Feathers, Tea Dye, Fossilized Amber and Tattered Rose and Scattered Straw when mixed together make a great flesh tone then add Tattered Rose for the cheeks.
These images were mixed and matched from the following Dyan Reavely stamp sets: Pondering Petunia, Dependable Dotty, Doolally Dorris, Traveling Travis, and Rainbow Ruby (not all pictured above). I also used two sentiments from Dyan's newest Laugh 'Til You Leak stamp set. The sentiments were actually what inspired these art journal pages ... "Who left the bag of idiots open?" and "You may not have lost all your marbles but there's definitely a hole in the bag."

I decided that I would need a bag and also some marbles to go along with my "idiots" I'd just created. So, I wiped some Distress Paint onto a Non Stick Craft Sheet, spritzed just a bit of water, swiped a Manila Tag through the paint, gently spritzed it again and let the colors run and move on the tag and I gently heat set it. You can repeat this process until you get the layers and the look you are going for.

Once I was happy with my colors for my "marbles", I punched them out of the tags, using various sizes of circle punches. I inked the edges in black using my Black Soot Distress Pen and added a white highlight on each one using a Uni Posca pen.

Here is a closeup of the marble bag that I added to the left side of my page ... full of my marbles and "idiots". I cut the back of this Glassine Bag (measuring 4" x 6 1/2". I also tore a piece out of the bag so that the marbles could "escape" from the bag, as suggested in the sentiment.

Then I began at the bottom, gluing my marbles in place using Glossy Accents on the front of the marbles to stick them to the glassine front of the bag. I chose a glassine bag so that the marbles and my "idiots" would clearly show through. I continued this process, stacking the marbles and adding the heads, body and sentiment.
I glued the bag in place and added shading around the bag using a Graphite Pencil, a Detailer Water Brush and my finger to blend in the grey shadowing effect. I love the depth it adds. Next, I added the character standing to the left and shaded around her as well. The umbrella and shadowing was added at the top of the page and I began to add the marbles spilling out of the bag. Once they were glued in place with Glossy Accents, I added Glossy Accents to the tops of the marbles and let it air dry, to add a glossy dimension to the marbles.

The characters on the right were glued in place using Glossy Accents. Then I added the marbles underneath them in the same manner I had done on the opposite page. I shaded around all of these elements using the Graphite Pencil, water brush and my finger to blend.

Once the sign toting characters were in place and the marbles were dry, I added black sketching lines around the marbles and the characters using a Black Permanent Pen. I really like the lines as I think they add a bit of fun and whimsy to the pages.
Finally, I added some random white circles that were added using the cap from a bottle of white paint, dipped into the paint and randomly "stamped" onto the pages. Using my finger, I added some random swipes of black acrylic paint to the edges of pages to sort of frame them and pull everything together.

Finally, I added some random white circles that were added using the cap from a bottle of white paint, dipped into the paint and randomly "stamped" onto the pages. Using my finger, I added some random swipes of black acrylic paint to the edges of pages to sort of frame them and pull everything together.
So there you have it ... my art journal pages using Tim's Layering Stencil: Paint Resist technique in my background.
I hope you've enjoyed going through the process with me and this has inspired you to join in the fun at the Compendium of Curiosities III Challenge.
Our wonderful sponsor for this challenge are the good folks at
INSPIRATION EMPORIUM.

They have generously donated a $50.00 gift certificate for every other challenge and we thank them so much for their participation!
And our other over the top prize packages full of Tim Holtz products have been donated for every challenge by Tim and Mario!
We thank them so much for their generosity and support!
So what are you waiting for? You would be one of our lucky winners!
Good luck!